Triage - Installing Free Code Camp Locally

This work is licensed under a Creative Commons Attribution 4.0 International License.

Why Build Local?
Although it would be nice to advocate and support local businesses, this is decidedly not about that kind of local infrastructure. Instead, I’ll walk you through my experience building Free Code Camp for my local, Windows 10 Home environment - because when you don’t have Windows 10 Professional, you don’t have Hyper V and Windows wants you to suffer.
I could have taken the easy route and spun up a virtual machine that supported their Docker installation. But that’s the easy route. I wanted to know the nitty gritty and wanted a taste at the underbelly that made this project work.
Recently, I worked on two bugfixes for the open-source project. You can read about them here and here.
Setting Up the Local Environment
This wasn’t my first rodeo with GitHub projects and I consider myself no stranger to commandline interface git, so I wasn’t expecting there to be any difficulty at this stage. While contributors can easily do work without setting up a local environment, it’s highly recommended for those who are interested in contributing regularly.
When I opened up the guide to setting freeCodeCamp up locally, I was greeted with this:
As of 8 March 2019, please consider helping us test our new guide on how to setup freeCodeCamp locally using Docker instead of using this guide. It should result in fewer, if not zero, errors but we won’t know until enough devs try it.
This is my way of clarifying that I did not use Docker to setup the local environment - my attempts resulted in a fruitless four-hour triage attempt that could have been solved by using a virtual machine to begin with.
Instead, I went with the legacy approach: build freeCodeCamp locally using MongoDB, Node.js, and npm. This method I knew would work - I’ve had prior experience using my computer for this type of development.
Forking the Repository
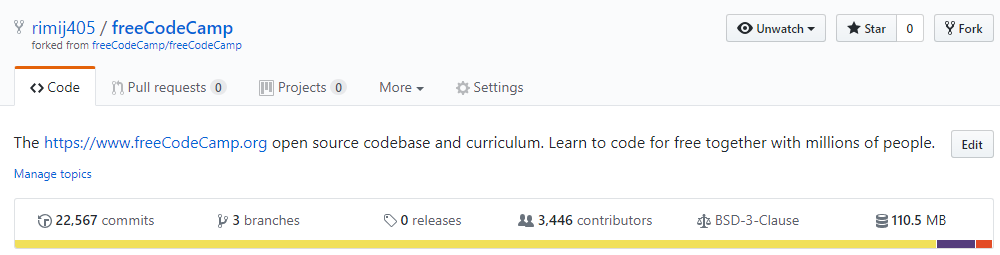
This part was easy; you can find my fork here.
Preparing the Development Environment

I use command line git through git bash; on top of that, I’m using Cmder - a neat little console emulator available on Windows - to keep my terminals together. An SSH key has already been set up for my own development environment as well.
I write my code in the same IDE I write my blog posts: Visual Studio Code. Microsoft might not be known for it’s open source technology (yet), but, VS Code is licensed under the MIT Expat agreement and can be found on their GitHub repository.
Cloning a copy of freeCodeCamp
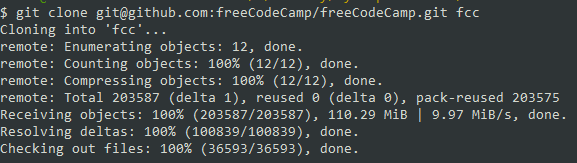
I forgot to clone from my fork the first time I did this and ended up running:
1 | git clone git@github.com:freeCodeCamp/freeCodeCamp.git fcc |
To fix it, I changed into the directory and switched around the remotes:
1 | cd fcc |
You can check your remotes with the following command:
1 | git remote -v |

Seems like all is good. The next step in the guide was to set up an upstream anyway, so, this ended up getting that done for me.
Building the local copy
This can be useful for previewing edits to the pages as they would appear on the learning platform.
Installing dependencies
From the Docker guide, we are required to install the stable version of the community edition, and the latest LTS version of Node.js. (We also need npm, but that comes bundled with Node). Docker didn’t end up working out for me. My copy of Windows (Windows 10 Home) doesn’t include Hyper-V; if it did, this would have been much, much easier. Because of this, I had to follow the old-school installation instructions: MongoDB would have to do.
Node.js & npm
I installed Node.js first because I knew it would be easy. I’ve got Node.js experience - no shenanigans there.
MongoDB Community Edition
Since I’m working from Windows, I followed MongoDB Community Edition’s installation guidelines. I installed MongoDB as a service, but, you may need to install it in a different way for your system. Mongo’s database instance starts as a part of the service installation process, but, since I often work in Git Bash for Windows, I wanted to make sure the mongo and mongod commands were accessible from the PATH environment variable.
I opened up my .bashrc file and added something along the lines of this to my script:
1 | # Inside ~/.bashrc, ~/.bash_profile, or ~/.profile |
What the above script does is check to see if the MongoDB directory exists and the adds it to the PATH variable. Be sure to replace <...> and <version> appropriately when setting this up for yourself.
After editing the configuration file, either logout and log back into bash or source the file you’ve edited appropriately:
1 | source ~/.bashrc |
With that, you can echo "$PATH" to confirm it’s been added correctly. Be sure to wrap the PATH variable in quotes when evaluating to ensure whitespace doesn’t mess with your terminal.
If you want to see the first element in your PATH variable, you can use the following script - and don’t forget to check your version of Mongo to ensure the installation was correct!
1 | # Get first element in the PATH. |
Configure Dependencies
Next up: setting up the environment variables specific to Free Code Camp’s build process.
1 | # Create a copy of the "sample.env" and name it ".env". |
Since the keys in the .env file are not required to be changed in order to run the app locally, I left the default values from sample.env as-is.
(NB: Before editing any of the code, I made sure to checkout a local branch called master-local. I always like to be on the safe side!)
Following that a call to npm ci will install the project’s dependencies. In my scenario, I also had to install lerna globally. Lerna is a package manager’s package manager so-to-speak. It’s really for projects with a large amount of packages to maintain.
Troubleshooting Installation
Be warned! If you don’t install lerna prior to executing npm ci it will just hang at the lerna bootstrap command that is called during the installation process. For me, I had to execute lerna exec npm install instead just to get the project’s dependencies to install in the first place.
In addition, on Windows, there was an issue running the commands from the base system - instead, I needed to start an elevated PowerShell instance with administrator privileges:
1 | # Start a new powershell instance in-line, in the current working directory, using Git Bash. |
1 | # Start an elevated instance in a new window. |
From there, I was able to complete the development process!
Running Local
With a quick call to npm install to ensure everything was properly installed, followed by an npm run bootstrap, the dependencies were ready. My instance of MongoDB was primed and ready - so with npm seed, the database was filled with test data provided by the repository.
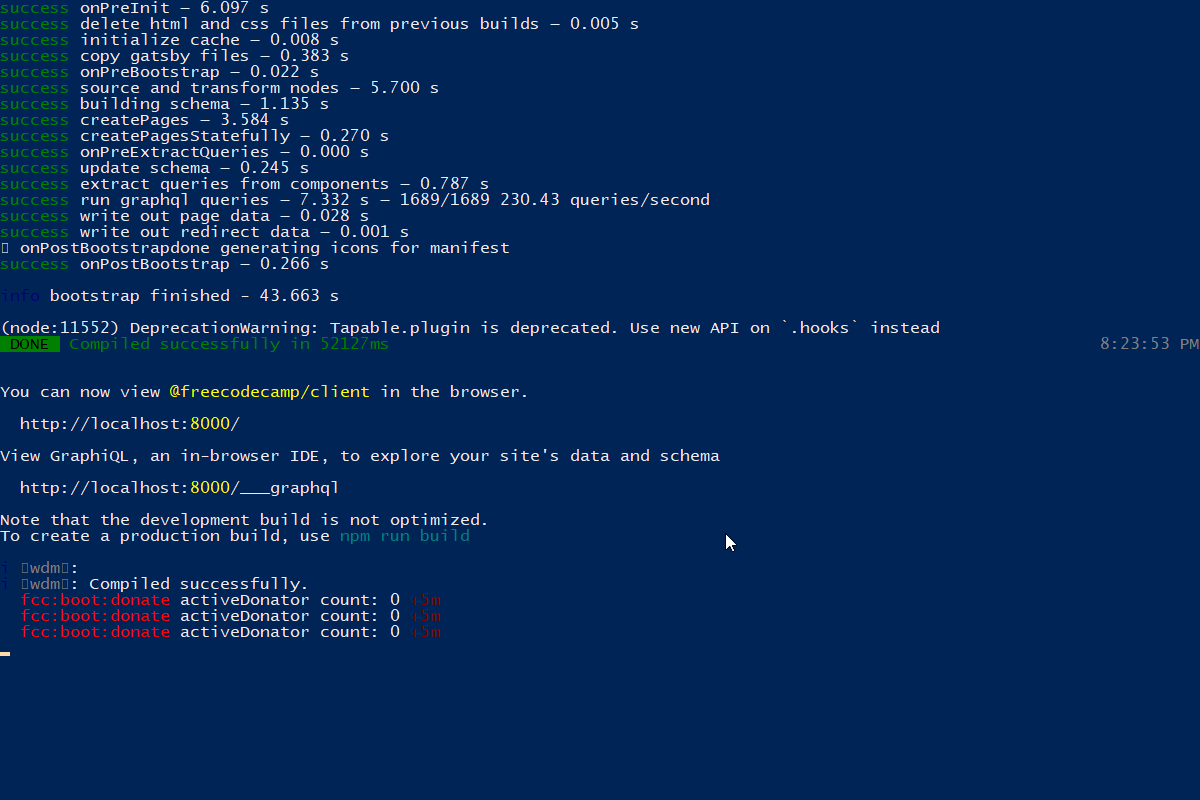
Underneath everything, the curriculum is just a Node.js application. I felt like I recognized what it was that I was looking at when I built a development environment with npm develop. With a welcoming, DONE Compiled successfully in 52127ms - we did it.
I could now see my copy on the localhost.